Tuesday, 19 February 2013

Swing.... and Colour it Fun!


Every morning our family is in a rush to get out the door.
Half of the time I am the only one ready, 
and the other half the kids are the only ones ready.

I thought...
wouldn't it be great if I had a fun swing or something out the front
 to keep them occupied for just a few minutes,
 while I do all the last checks before leaving the house.


My little DIY shed had some pieces of wood I cut to size,
and I found a sturdy Cobalt blue wrapped wire I salvaged from one of our recent renovations.
At the time I really had no idea what I would do with it,
but it came in handy for making this little swing for the kids.

I taped up the wood to leave the edges exposed,
then spray painted it with a fluro pink/orange like colour.


SUCCESS!!! 
They Love It!!
 I get a few extra minutes in the morning
to double check I haven't forgotten anything.


The funny thing is, as I was making this I thought the colours were a bit odd for a swing, but somehow still worked together and felt modern.

It only took a minute to look around the house
 and see why I was so attracted
 to this beautiful colour combination of bright neons and blues,
 old and new.


New
Old


Far
Near


An old gift from the
OPRAH SHOW


 My work shop

Yes...
even these real vintage tags on my old suitcases...
have my favourite current colours!!
Go Qantas!!!

And without a doubt....
My favourite magazine's new cover even has this colour combo.
Love it!


Note:

I just met Pop and Scott today who run a workshop up in Northcote.

Pop & Scott make the most amazing swings that they sell through their website at Pop and Scott!!

http://popandscott.com/shop/

I am pretty sure I saw one of their swings somewhere and that is where I got the idea to make one for the kids.

Their workshop is so cool and casual and worth checking out it you love to make things!

They are also planning on doing classes to make their lovely swings here in Melbourne.


Wednesday, 13 February 2013

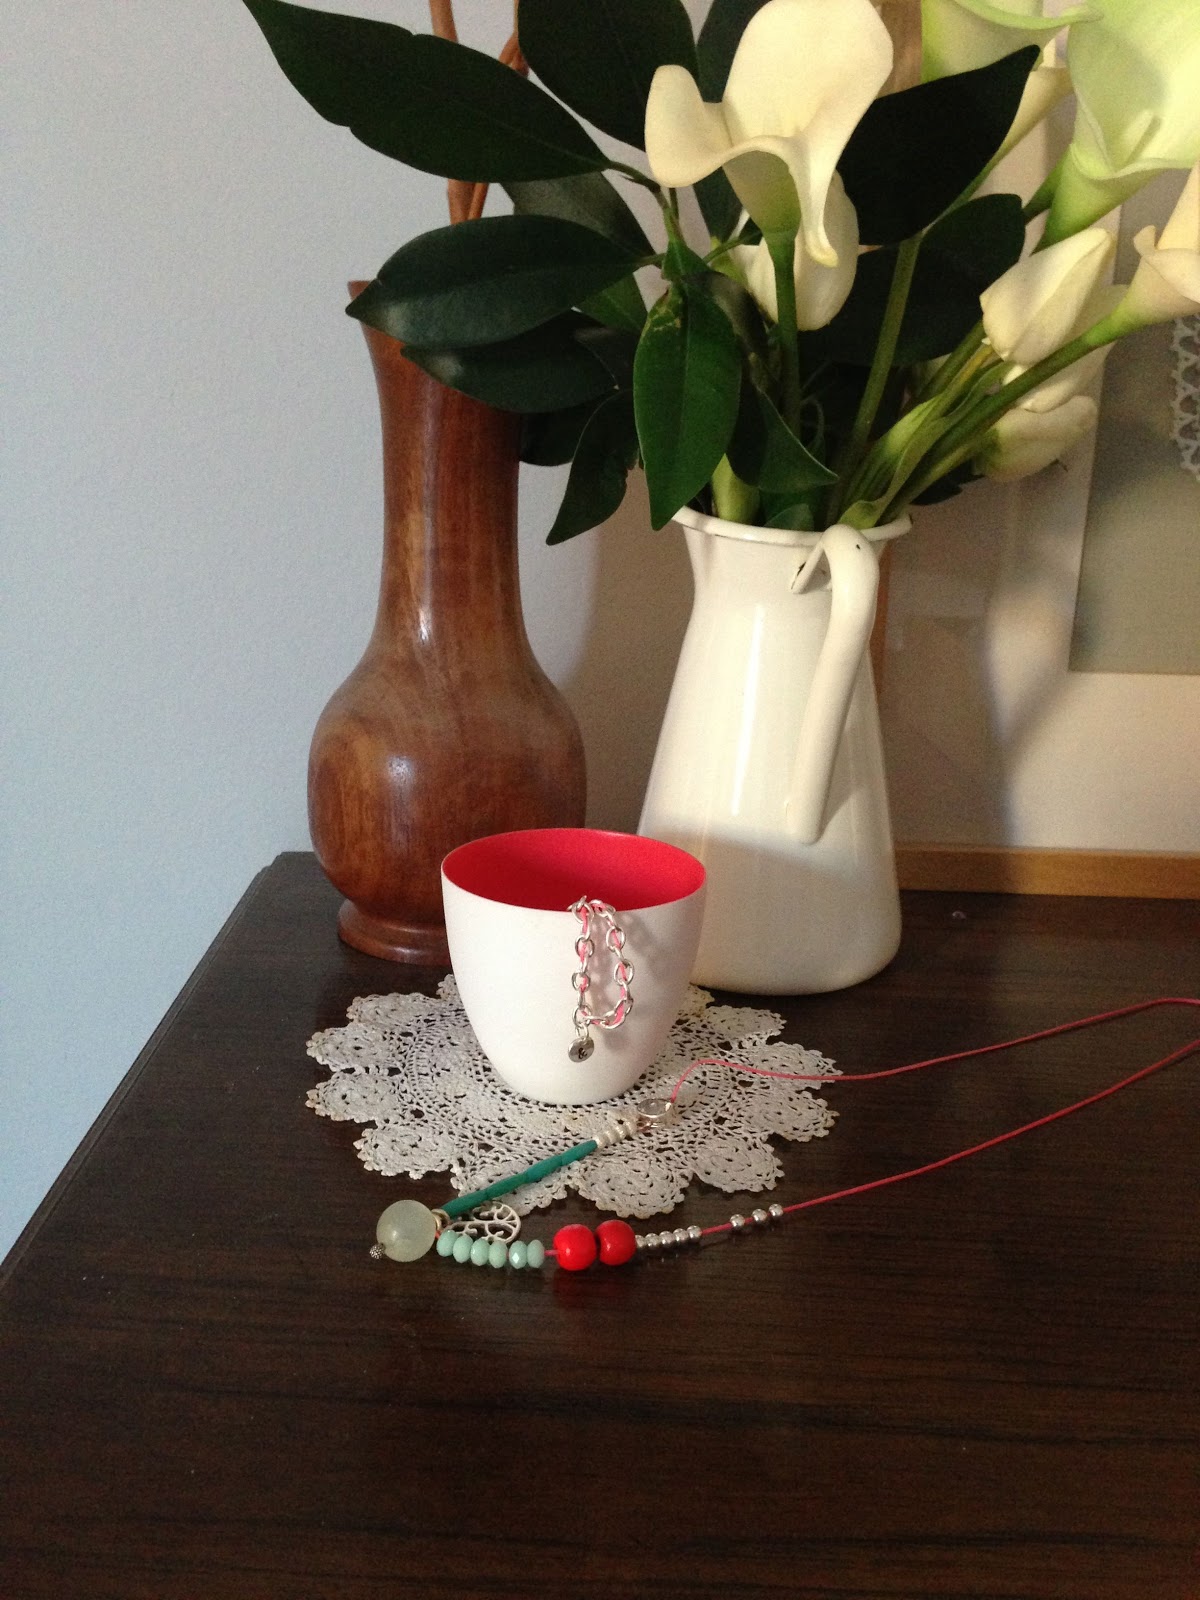
Jewelry Box Makeover


Sterling Silver,
crystal and wooden beads
 on a neon pink string.


 I am pretty sure most of us have a jewelry box somewhere that needs a major make over.  Some of the items in my jewelry box are very precious and some are just costume, but all of it goes unworn on a daily bases.


I sorted through the items that were special and the ones that I could pull apart.  I also looked for real silver that needed a polish...like the one in this photo.


 After a bit of tarnish remover,
 I thought this silver and pearl pendant
 would look nice on another necklace
 I just stung together with bits and pieces I found.


or add some yellow...
Randomness was my objective of the day, 
which worked well since I only had a few of anything to play with.
I even raided the kids bead collection and found some neon yellow and pink wooden beads.

I also found a black pearl I never where
which didn't look that bad either...


I took all the best precious pieces I could find,
 like this round jade bead I was given years ago by my best friend.
 I made it into a special pendant for this necklace I made with other
random beads I found.


These ivory beads were once my Grandmother's!
 Back in the 90's I made this choker style necklace with
them.  Yes...I loved it then, but would never where it now!

Time to restring these with some other special finds......

Can't wait to wear this tomorrow. :-)


Wednesday, 23 January 2013

Painted Linen Cushion "The Palms"

Soaking the linen in a mixture of
Water,
 Textile medium,
 and
 Acrylic paint

Keep adding till you get it just right....

My simplified version
hanging to dry in the sun.
The lovely cushion I was inspired by.
I saw this in a favourite little shop called Turner and Lane.


Yep,
love it!

It is just that little bit of tropical...
 perfect for Summer.

"The Palms"
Hand Painted
on
Linen


The colours tie in perfectly with the other little hints of blue and green around the room.

Monday, 21 January 2013

Liberty Fabric Paper Treat Bags

I just made some amazing chocolate chip cookies that I wanted to package up and share with my friends.
 I thought using Liberty Fabrics would be a cute idea.
As beautiful as these fabrics are, they are far too expensive for
wrapping up a few cookies.


Instead, I photo copied a few pieces of fabric I liked with my printer onto regular A4 paper.
I then trimmed the edges.


I folded the paper into the centre and taped it with some cute washi tape.
I then folded and creased to create the bottom of the bag.
I taped up the bottom and puffed them out to create a cute and cheap paper bag.

I also found another way to make paper bags on this site....


These little square bags are a bit more formal 
and take longer to make,
 but are so very cute.

These paper bags are perfect for giving away some of my cookies
 so I don't eat them all!!!

About 4 cookies fit in one bag made from an A4 size piece of paper.

Popcorn anyone?
The options are endless....

All done
 and ready to be filled
 with some yummy
 treats.

Friday, 18 January 2013

Secret Recipes are so much fun!


This morning my kids were dying to bake something.  So I thought we would look up the recipe for Mrs. Field's famous chocolate chip cookies to see what we could find.
Well.... well.... well....
We found this website...


We followed the instructions perfectly,
 except we had to use our Vitamix blender to make our own oatmeal flour.


Ta Da....
Super soft on the inside and lightly crispy on the outside.  
We did it! 
 High fives all around!!!
They are just as good as Mrs. Field's!
My 5 year old even thinks so!


They were beyond my expectation!
In the past my cookies have always turned out ok, but nothing to rave about.
That is why I am in total shock that these are just too good to be true!!
Can you tell I am just a little bit proud of myself right now?
I am not a baker at all.

 I can totally see how Mrs. Field would have felt when she cooked up her first batch for sale. :-)


 Tips to getting them just right:

      * They only take 6-8 minutes tops....so I let the kids sit there the entire time to make sure we didn't over bake them.

      * We added heaps of extra vanilla been paste

      * We added chocolate chips to taste...pretty much until we thought we had enough...(i.e. lots)

      * We scooped the dough with a tablespoon to keep the size consistent


Now they are packed away in the pantry....ok well less than half of them made it to the pantry. ; /

P.S
Give these a try!
I am not a baker at all and I managed just fine.


Yummy  !!!!!!!!!!!!!!!!!!!!!!!!!!!!!!


Cream together 1 cup butter
1 cup sugar
1 cup brown sugar
Add 2 eggs
1 tsp. real vanilla extract
Mix together
2 cups all-purpose flour
2½ cups oatmeal (blended into a fine powder)
½ tsp. salt
1 tsp. baking powder
1 tsp. baking soda
Mix all ingredients well, then add one 24-ounce bag of milk chocolate chips or as many as you want. Drop 1" balls on ungreased cookie sheets, two inches apart, and bake at 375° F  (190 C ) for 6-8 minutes. Makes approximately 60 cookies.


Ok....I am eating way too many of these now.
I think it is time to wrap some up and give them away.  :-)

Wednesday, 19 December 2012

Fabulous find to finish off the room...

My clients just moved into their new house about 2 months ago.
  As it goes... with kids around, things just end up where they were first put, and then tend to stay that way.

The Brief:
"Please help us with furniture placement"


Before:  The room was off balanced and needed some direction.


After:  We found a beautiful antique in their garage and it was just what they needed
to complete the room.
Now there is a specific place for their fine dinner ware.
I centred the room off the French doors
 and put the odd ottoman in to act as a coffee table.

Before


After

The room took only about an hour to rearrange and layout. 
 Most of that time was spent cleaning the Antique China cabinet we found in the garage
 which we brought inside to go along the far wall.

It is a good start for them to elaborate on!

*My tip here would be, if there is ever a beautiful feature of a room,
always try to centre your furniture around it. ;)


LinkWithin

Related Posts Plugin for WordPress, Blogger...